I'm Steve — MiniWorkoutDad!
Unlock the Full Potential of Your Phase 3 Isometric
Get the most out of the biggest upper body builder in the workout. Discover what muscles it works, how to do it correctly and how to avoid injury…
Phase 3 is surely one of the toughest and trickiest isometrics. So, are you doing it correctly? Watch the video for extra tips.
What does phase 3 Work?
You’re never just working one muscle or even one body part in this workout. Phase 3 challenges muscles across your whole upper body. That’s why it’s so effective!
The muscles worked :-.
- Keeping the weight up and away from your body: Pectorals, Front Deltoids, Brachialis, plus Brachioradialis and numerous forearm muscles for hand stablility & grip
- Preventing your shoulders collapsing forward: Rear Deltoids, Trapezius, Rhomboids, Teres Minor & Major, Infraspinatus, Latissimus Dorsi and more.
- Keeping you upright: your front core, posterior chain, Gluteus Maximus, plus your Thoracolumbar Fascia.
Don’t forget: working all those muscles together creates a huge cardio-vascular load, which helps improve your fitness and burn calories too!
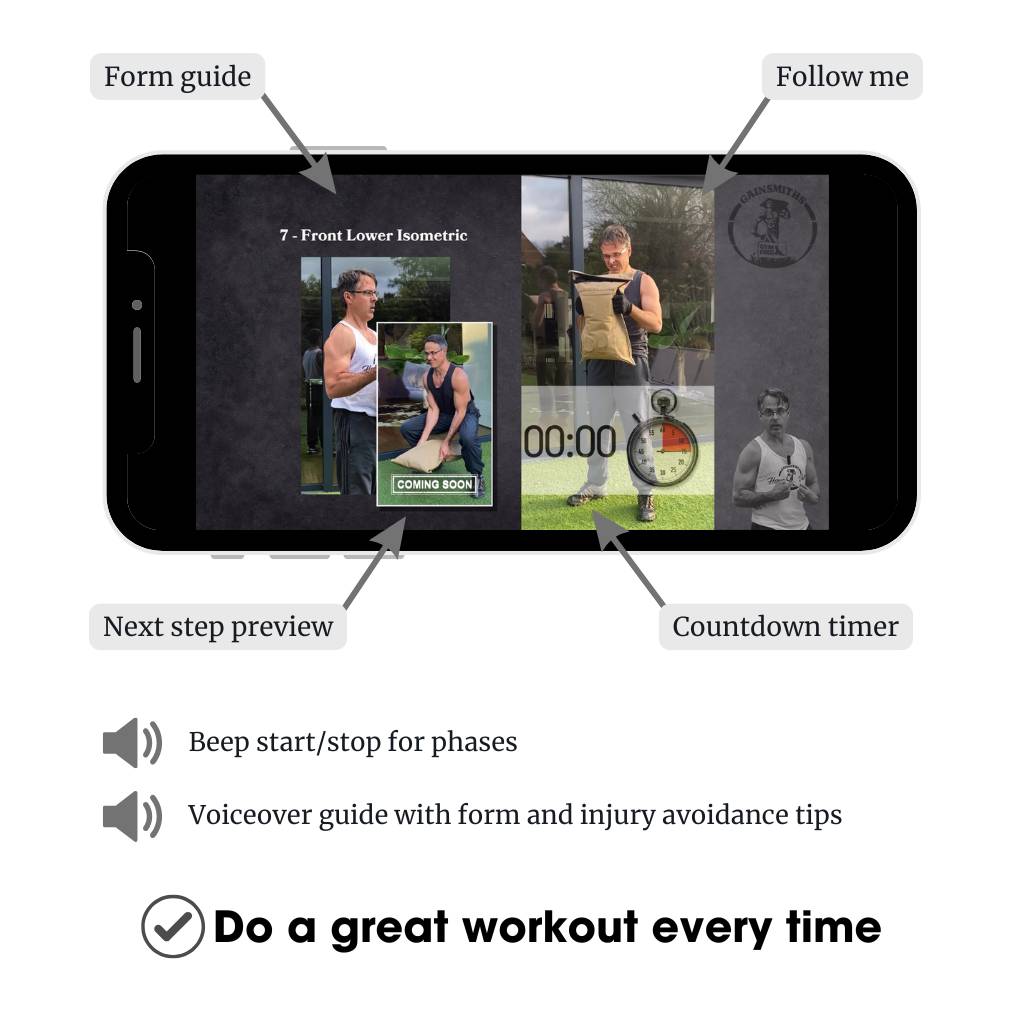
Switch up progress Evolve your workouts Add a new challenge Unlock…
Find out moreWhere will you see the biggest benefits?
We all have different genetic potential and starting points, so results will vary. But, here’s where you’re likely to notice Phase 3’s impact.
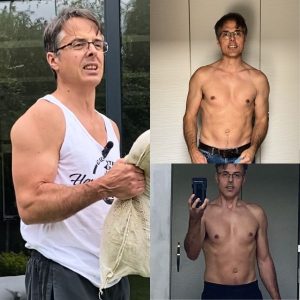
Shoulders & chest/ pecs, biceps & forearms
On the left you can see the strain on the shoulder, bicep and forearm.
The chest is stretched, so pictures of my pecs on the right to prove it works – sorry!
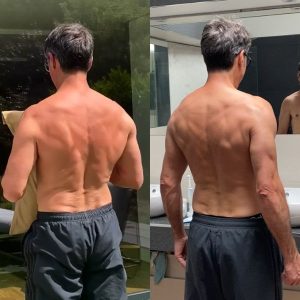
Upper & mid back
You can see the tension in the back on the left; from the shoulders inwards to a column bracing the forward pull.
The right image shows how this has helped develop strength in my back over 7 months.
Performing Phase 3 will build your functional strength and fitness for real life. Just think of all the times you’ve carried stuff, arms out front like this!
Pointers to perform Phase 3 correctly
While lowering the weight into Phase 3 slowly, ensure your core is engaged (clenched). You’ll maintain this naturally during the hold.
Make a right angle with your arm, push your elbows slightly forward of shoulders, so your hands are above your elbow.
Don’t clench your arms against your torso, or dig your elbows in. That’s cheating!
Keep you chest up and proud and your shoulders down (don’t shrug). Your body may try to bring your shoulders up to relieve exhaustion of the target muscles. Don’t let it!
You should be struggling to push the weight further away from you, by driving the elbows forward.
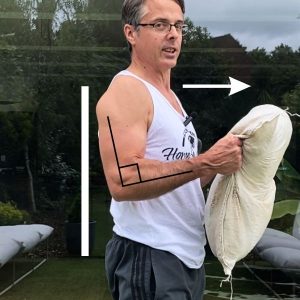
Don’t lean back away from the weight. Instead, keep your back straight & upright. You should feel the forward “pull” on your lower back. Be careful if you have weakness in this area.
Legs shoulder width part, glutes engaged – squeeze your buttocks!
Don’t forget to breathe!
Pro tip: doing some “pumps” by momentarily trying to push the weight further away will stimulate your chest muscles even more!
Perfecting Phase 3 is not an act of vanity. Every time you do my workout, you’re investing in your future health. Let’s build the physical capabilities that mean you can live life to the full for longer!
Steve — MiniWorkoutDad
Was this useful? If you don’t want to miss out on tips like this (and haven’t subscribed already), just submit this form ⇩